
🔒 OAuth and OpenID Connect User Management
GermainUX supports OAuth 2.0 and OpenID Connect authentication, allowing users to access the Germain Workspace through an organization’s existing identity provider.
✨ Integration benefits
This integration can provide:
|
Feature |
Details |
|---|---|
|
Enterprise single sign-on |
Enterprise single sign-on |
|
Centralized user administration |
Centralized user administration |
|
Identity-provider-controlled authentication policies |
Identity-provider-controlled authentication policies |
|
Multi-factor authentication when enforced by the provider |
Multi-factor authentication when enforced by the provider |
|
Group-to-Role mapping |
Group-to-Role mapping |
|
Centralized access revocation |
Centralized access revocation |
Note: OAuth 2.0 provides authorization, while OpenID Connect adds user authentication and identity claims. GermainUX uses the information returned by the configured provider to identify the user and determine their Roles.
🌐 Supported Providers
GermainUX can integrate with compatible OAuth 2.0 and OpenID Connect providers.
Provider-specific guides are available for:
|
Provider |
Configuration Guide |
|---|---|
|
Okta |
|
|
PingFederate |
|
|
PingID |
Other compatible identity providers can also be configured using the general OAuth provider settings.
📋 Before You Begin
Obtain the following information from your identity-provider administrator:
|
Item |
Details |
|---|---|
|
Client ID |
Client ID |
|
Client secret, when using a confidential client |
Client secret, when using a confidential client |
|
Authorization endpoint |
Authorization endpoint |
|
Token endpoint |
Token endpoint |
|
User-information endpoint |
User-information endpoint |
|
JSON Web Key Set endpoint |
JSON Web Key Set endpoint |
|
Required scopes |
Required scopes |
|
Username or identity claim |
Username or identity claim |
|
Group or Role claim |
Group or Role claim |
|
Supported token-signing algorithm |
Supported token-signing algorithm |
|
Required redirect URI |
Required redirect URI |
The exact settings depend on the selected identity provider.
⚙️ Configure the Identity Provider
Before configuring GermainUX:
-
Create or select the GermainUX application in the identity provider.
-
Enable OAuth 2.0 or OpenID Connect authentication.
-
Configure the GermainUX redirect URI.
-
Assign the users or groups allowed to access GermainUX.
-
Configure the claims required for the username and Role mapping.
-
Record the client credentials and provider endpoints.
The commonly used GermainUX redirect URI template is:
{baseUrl}/login/oauth2/code/{registrationId}
Use the exact redirect URI generated for your GermainUX environment when configuring the identity provider.
💻 Configure GermainUX
-
Log in to the Germain Workspace as an administrator.
-
Go to System > Auth Settings > Authentication.
-
Click Add New Configuration.
-
Select OAuth Provider.
-
Click Next.
-
Configure the provider settings.
-
Click Finish.
-
Restart the relevant GermainUX services if required.
🔧 OAuth Provider Settings
|
Field |
Description |
|---|---|
|
Provider Name |
Unique name identifying the provider. This name may appear as a login option. |
|
Client ID |
Client identifier issued to GermainUX by the identity provider. |
|
Client Secret |
Secret issued for a confidential client. Store and protect it as a credential. |
|
Authorization Grant Type |
OAuth flow used for authentication, typically |
|
Redirect URI Template |
GermainUX callback URI to which the provider returns the user. |
|
Authorization URI |
Provider endpoint that authenticates and authorizes the user. |
|
Token URI |
Provider endpoint that exchanges the authorization code for tokens. |
|
User Info URI |
Provider endpoint that returns information about the authenticated user. |
|
JWK Set URI |
Provider endpoint containing the public keys used to validate signed tokens. |
|
User Name Attribute |
Claim used to identify the GermainUX user, such as |
|
JWS Algorithm |
Algorithm used to validate signed tokens when required by the provider. |
|
Role List Path |
Claim path containing the user’s groups or Roles. |
|
Scopes |
OAuth or OpenID Connect scopes requested by GermainUX. |
|
Use PKCE |
Enables Proof Key for Code Exchange when required or supported. |
👥 Users and Groups
Create and manage users in the external identity provider.
To grant access to GermainUX:
-
Assign the user to the GermainUX application in the identity provider.
-
Add the user to the appropriate identity-provider groups.
-
Ensure the required group or Role claims are included in the returned identity data.
-
Create matching Roles in GermainUX.
-
Assign the required permissions to those Roles.
To review GermainUX Roles, go to:
Germain Workspace > Left Menu > System > Auth Settings > User Roles
Role names and the values returned by the identity provider must match when group-to-Role mapping is used.
🚪 Log In
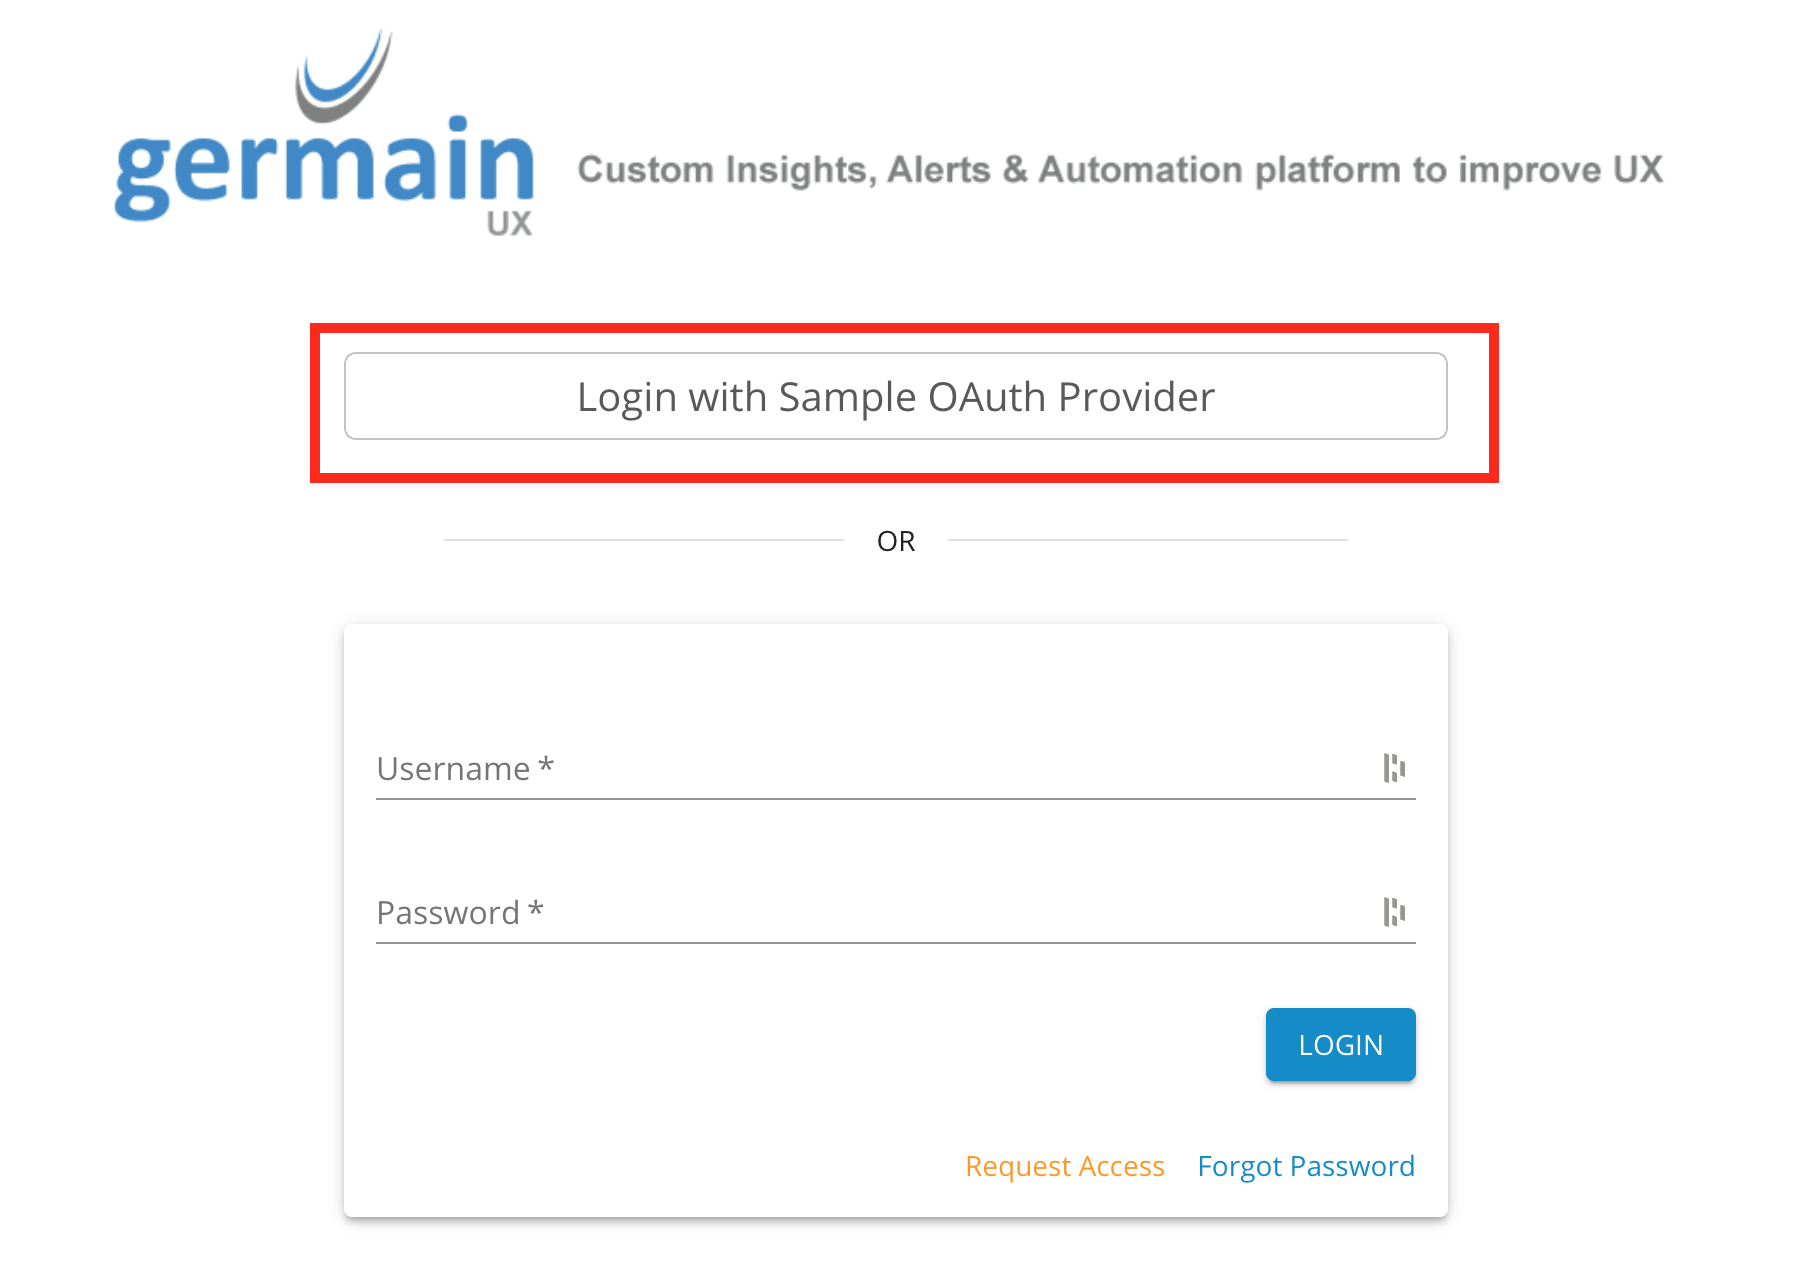
After the provider is configured, the GermainUX login page displays a corresponding login option.
To sign in:
-
Open the GermainUX login page.
-
Select the configured OAuth or OpenID Connect provider.
-
Complete the provider’s authentication process.
-
Complete multi-factor authentication if required.
-
After successful authentication, the provider redirects the user to the Germain Workspace.
GermainUX applies the Roles returned or mapped from the provider to determine the user’s permissions.
✅ Validate the Configuration
Test the integration with a non-administrator account.
Confirm that:
|
Check |
Result |
|---|---|
|
The provider appears on the GermainUX login page |
The provider appears on the GermainUX login page |
|
The redirect URI works correctly |
The redirect URI works correctly |
|
Valid users can authenticate |
Valid users can authenticate |
|
Unauthorized users are rejected |
Unauthorized users are rejected |
|
The expected username is returned |
The expected username is returned |
|
Groups map to the correct GermainUX Roles |
Groups map to the correct GermainUX Roles |
|
Users can access only authorized features and data |
Users can access only authorized features and data |
|
Logout and subsequent login behave as expected |
Logout and subsequent login behave as expected |
 Troubleshooting
If authentication fails:
-
Verify that the redirect URI exactly matches the URI configured with the provider.
-
Confirm the client ID and client secret.
-
Verify the authorization, token, user-information, and JWK endpoints.
-
Confirm that the required scopes and claims are returned.
-
Check that the username and Role claim paths are correct.
-
Verify that matching Roles exist in GermainUX.
-
Review the GermainUX REST service logs.
For additional diagnostics, temporarily enable DEBUG logging for:
com.germainsoftware.apm.auth.security
Reproduce the login attempt, review the logs, and return the package to its normal logging level afterward.
Service: Authentication
Feature Availability: 8.6.0 or later