Prerequisites
-
Ports to communicate with Germain Enterprise must be opened. See Engine not starting? | Ports for more details.
-
Java must be installed and configured. See Engine not starting? | Java for more details.
-
Docker Compose v1.29 or later if deploying via Docker
-
Hardware (recommended):
|
Germain UX |
Low Scale (1Million AA Units/day) |
Mid-Large Scale (1-100Million AA Units/day) |
Big Data Scale (> 100Million Units/day) |
|---|---|---|---|
|
(Core, Physical Memory, Storage) |
5% Cpu usage, 2 GB, [500MB-30GB] |
5% Cpu usage, 2 GB, [500MB-30GB] |
5% Cpu usage, 2 GB, [500MB-30GB] |
Download
-
Download Docker Compose (if deploying via Docker)
Deployment (Standalone)
Video overviews:
Step-by-step deployment:
-
Create a new directory for the engines
-
Example:
D:\Germain\enginesor/germain/engines-
(we'll refer to this as
$ENGINE_HOME) -
Setting this as an environment variable can simplify later steps
-
-
-
Extract engine distribution into
$ENGINE_HOME-
(e.g.
GermainEngine-2022.x.zip)
-
-
Copy JDBC jars to
$ENGINE_HOME/lib/for the databases that you are planning to monitor:-
Examples. These will differ with your database version
-
MySQL:
mysql-connector-java-5.1.20.jar -
Oracle:
ojdbc6.jar
-
-
-
Update initial configuration in
$ENGINE_HOME/config/germain-bootstrap.properties:-
germain.bootstrap.configService- Set to the URL of your Germain server -
germain.bootstrap.configUser- Specify the Germain user you are planning to use to connect (by default, admin) -
germain.bootstrap.configPassword- Specify the corresponding password -
germain.bootstrap.node- 2 options here:-
If you leave this value empty, the engine will automatically register a new node configuration on the Germain server (preferred)
-
Specify the hostname of an existing node under
germain.apm.monitoringNode
-
-
-
germain.activemq.url- update hostname:port to the location where ActiveMQ service is running (usually same hostname as Germain Server)
Deployment (Docker Container)
Step 1
Download the latest germain docker files as provided by our team.
Extract the contents of the archive to a location where you would like germain installed.
Example - /opt/germain
Step 2
Create docker network for germain.
docker network create germain
Launch Infrastructure services using docker-compose.
cd /opt/germain
docker-compose -f compose/apm-infrastructure.yaml up -d --force-recreate
Prepare config details to be used by germain application. Database connection details, SMTP account details will be added in this step.
cd /opt/germain/config
nano bootstrap.zk
Step 3
Launch Germain services using docker-compose to install Germain services.
cd /opt/germain
docker-compose -f compose/apm-services.yaml up -d --force-recreate
Step 4
Edit engine.env file to point to Germain instance to install Germain engines.
cd /opt/germain/config
nano engine.env
Launch Germain services using docker-compose
cd /opt/germain
docker-compose -f compose/apm-engines.yaml up -d --force-recreate
Run the Germain Engines as a foreground process
Windows
-
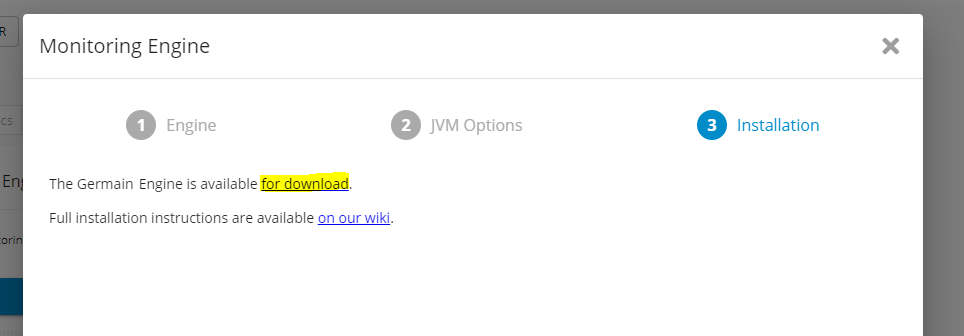
Download the “Windows Binary”
-
Germain Workspace > Left Menu > Wizards > Engine
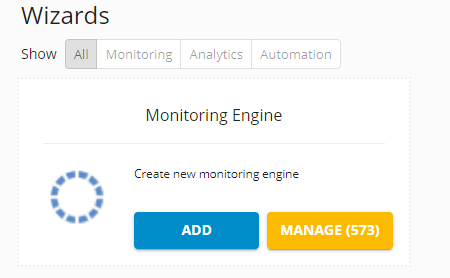
Engine Wizard - Germain UX 
Download link for Germain UX Engine
-
-
Unzip this archive and take the
enginesfolder inside and place it where you like. You may rename it to fit your naming conventions.-
This engines folder will be your
$ENGINE_HOME. You may optionally add this to your system environment variables.
-
-
Go to
$ENGINE_HOME\bin -
Edit
startEngine.batand validate/set JVM memory settings.-
Screenshot of settings in script:
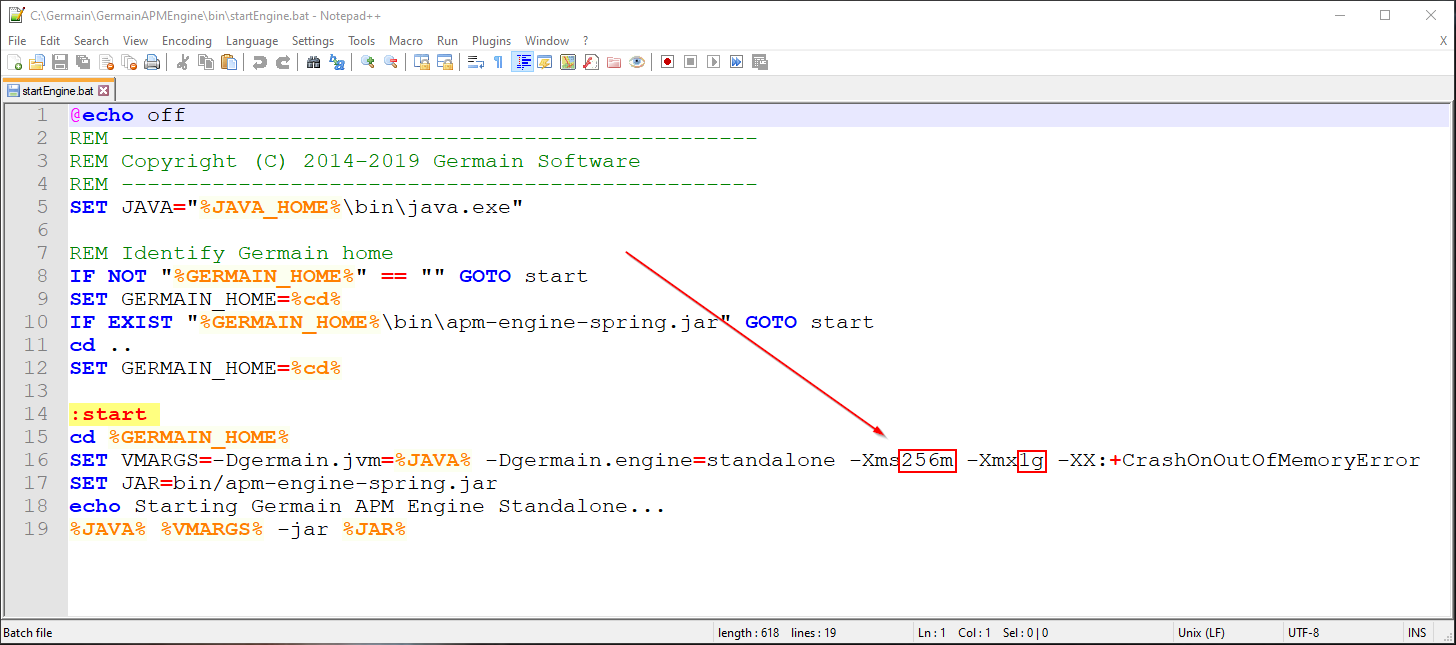
startEngine.bat - Germain UX
-
-
Open a Command Window.
-
Navigate to
$ENGINE_HOME -
Run
.\bin\startEngine.bat-
Screenshot of Engine Running:
-
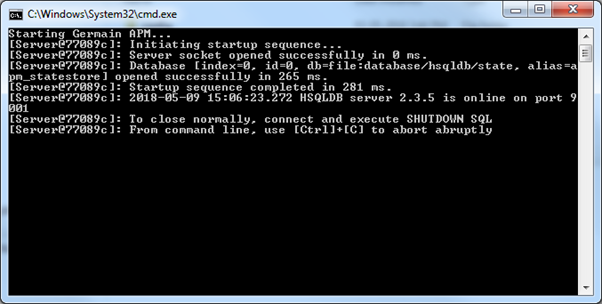
startEngine.bat - Germain UX
-
-
Linux
-
Navigate to
$ENGINE_HOME -
Use
vim ./bin/startEngine.shand set JVM memory settings -
As
rootrun./bin/startEngine.sh-
Screenshot of starting the script:
-

startEngine.sh - Germain UX
-
-
Run the Germain Engines as a service
Windows Installer
-
Download the “Windows Installer”
Germain Workspace > Left Menu > Wizards > Engine
Engine Wizard - Germain UX
Download Engine - Germain UX -
Run the Installer.
-
Hit ‘Next’.
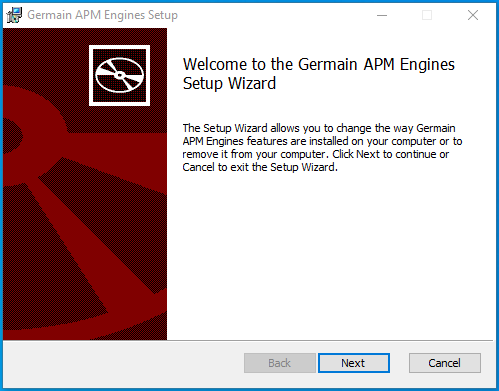
Engine Installer - Germain UX
-
-
Fill in your Server address. (Optional) If there is a Proxy between your Germain Engine and Germain, fill in your Proxy info.
-
Hit ‘Next’.
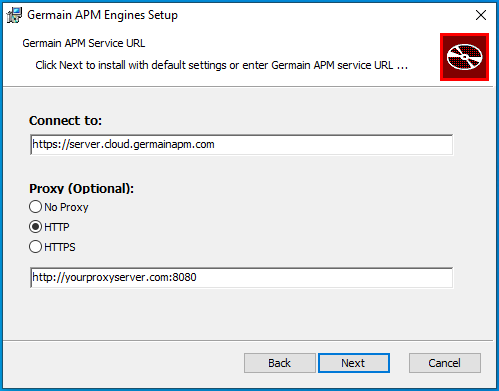
Proxy Info of Engine - Germain UX
-
-
Enter your preferred install path.
-
Hit ‘Next’
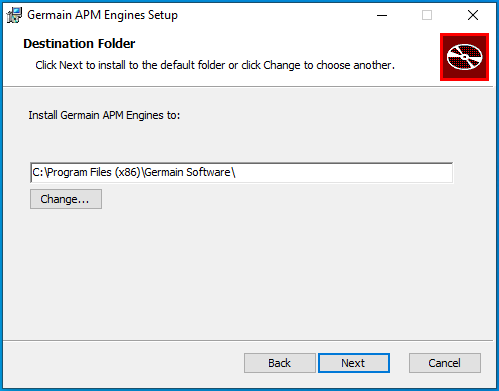
Install Path of Engine - Germain UX
-
-
Hit ‘Install’.
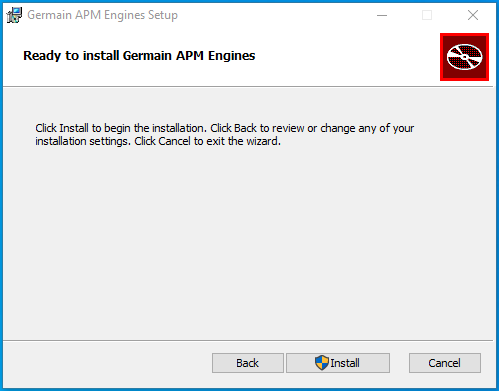
Start Installation of Engine - Germain UX -
Hit ‘Finish’.
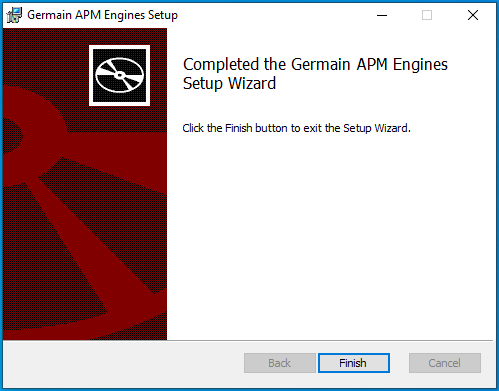
Complete Installation of Engine - Germain UX -
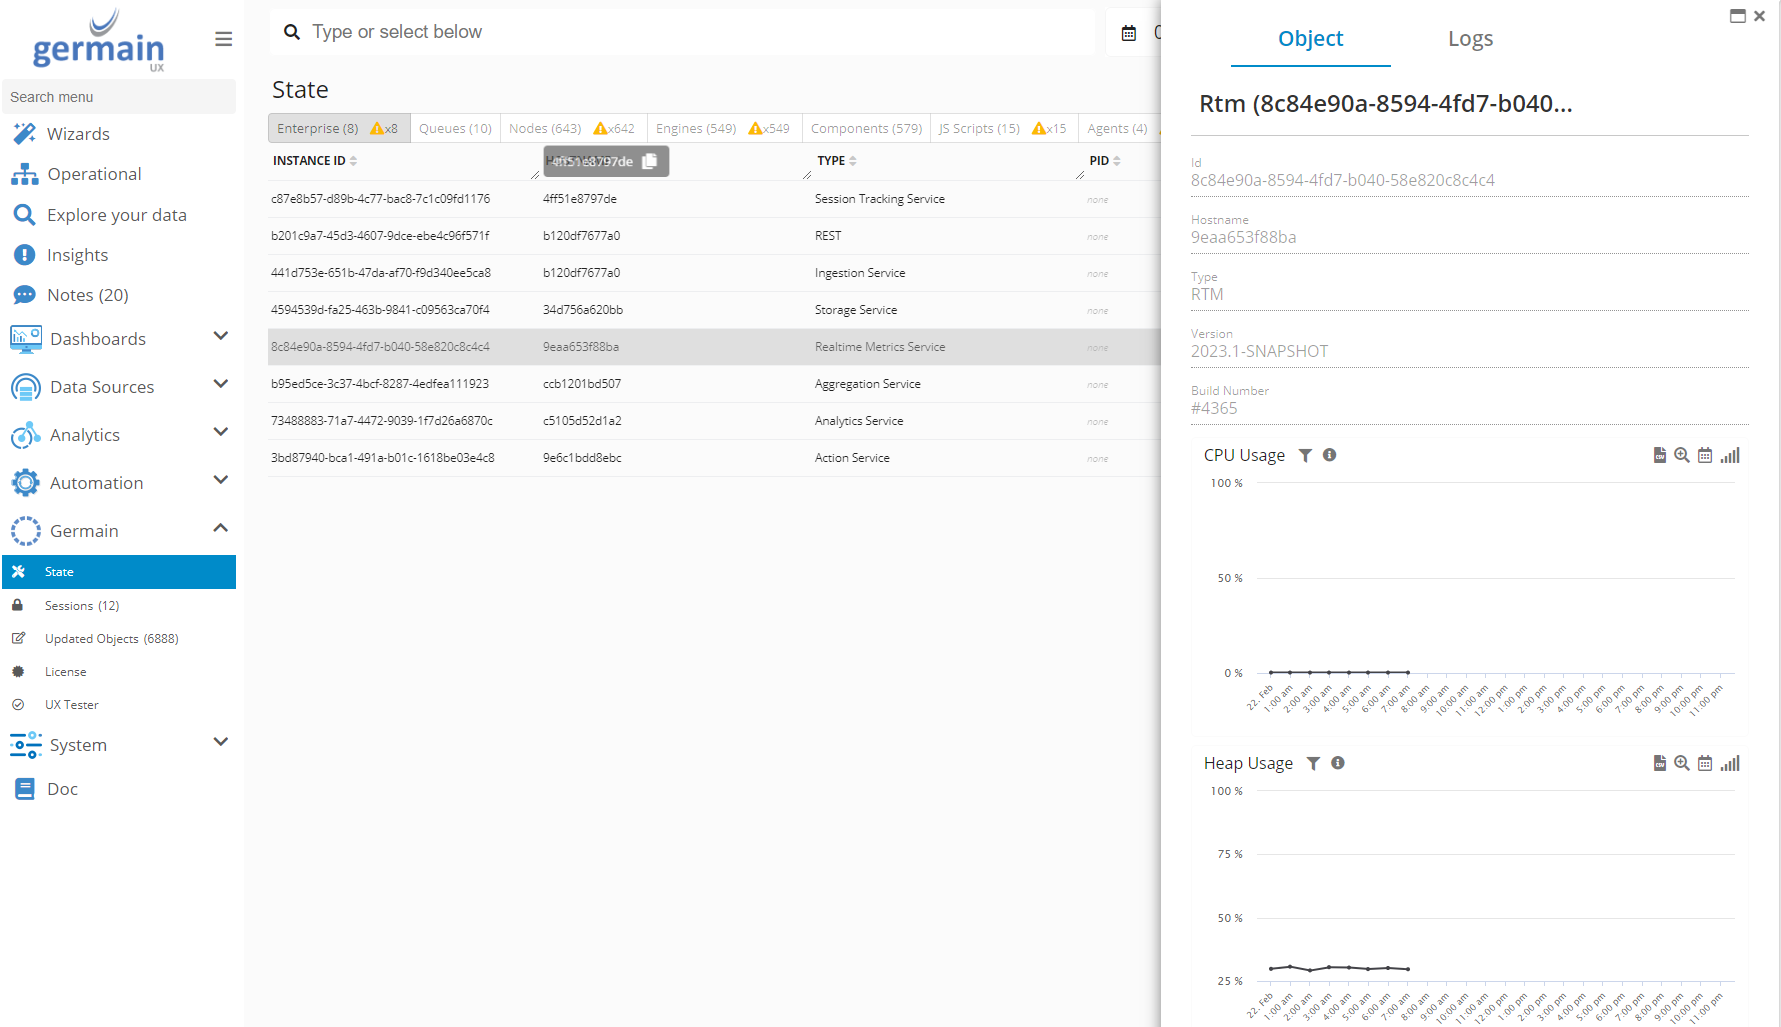
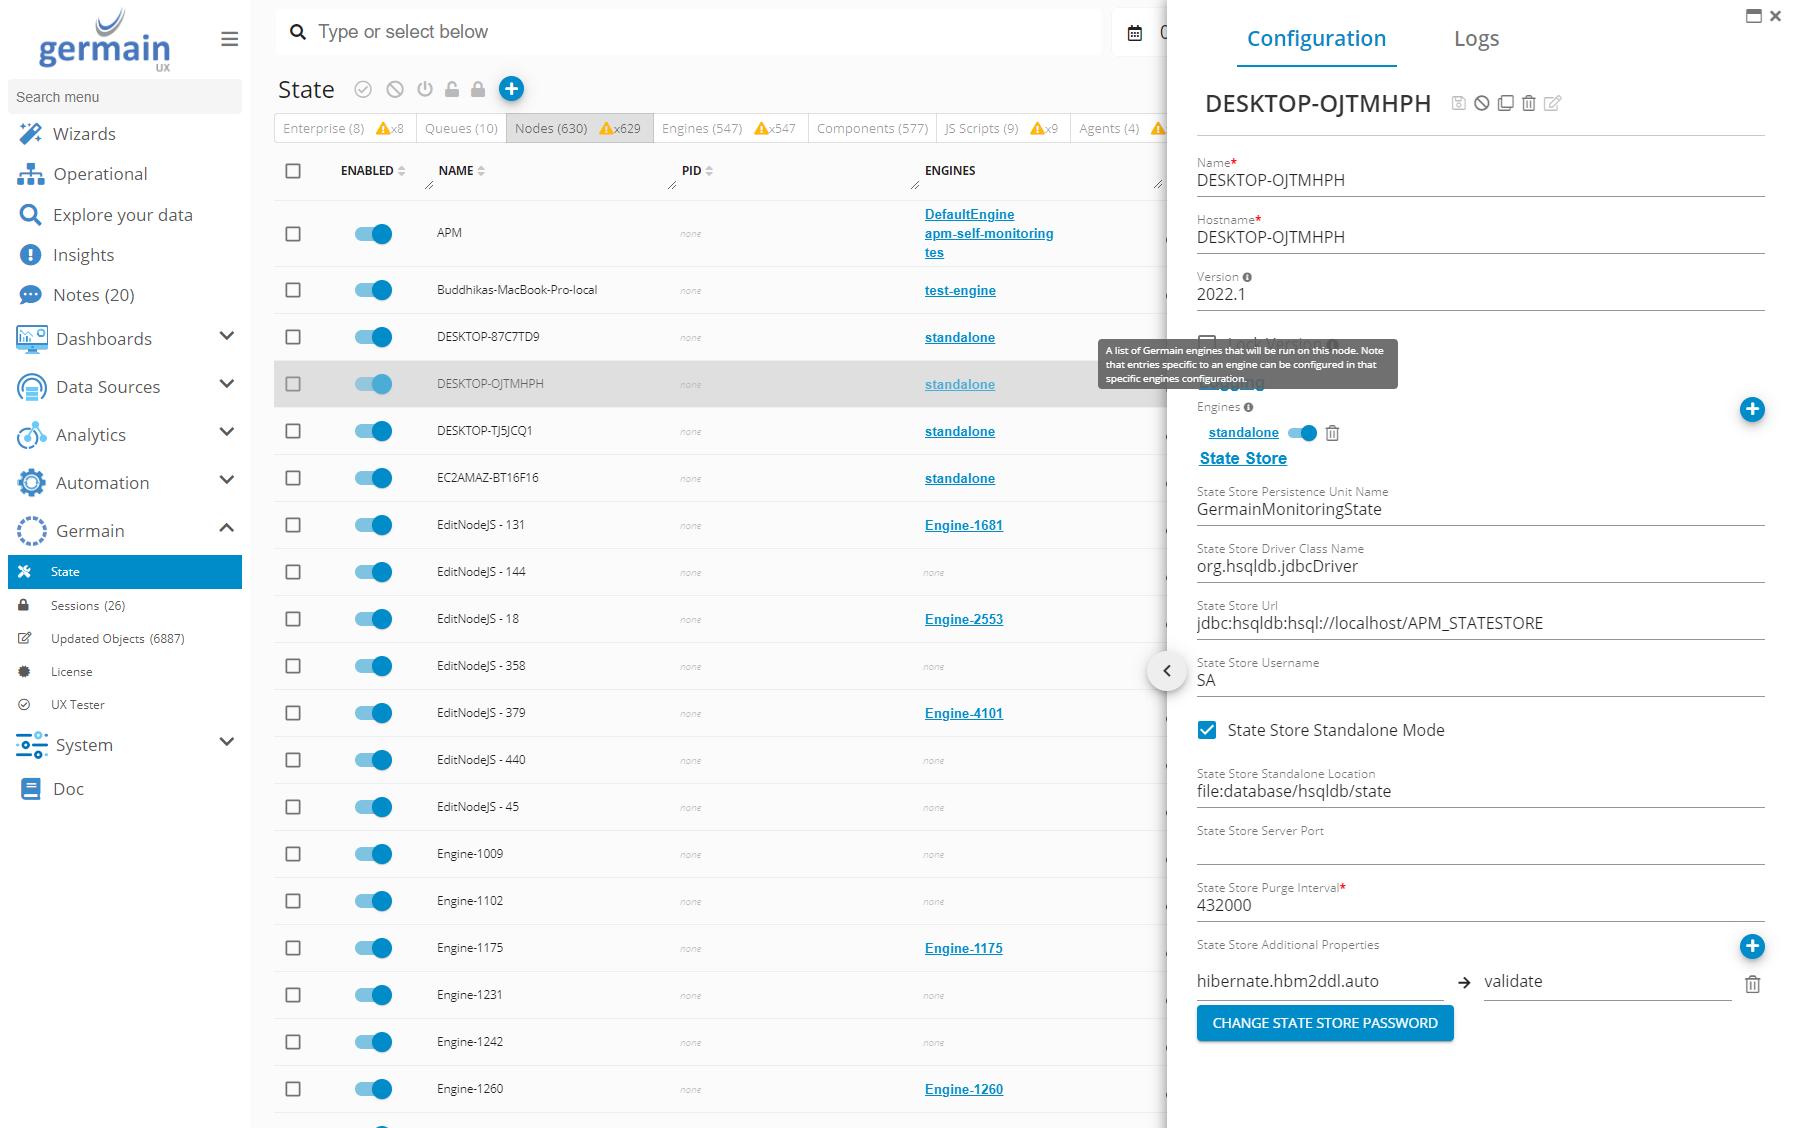
Go your germain Instance.
-
Hit 'Germain' -->' State'
-
Hit ‘Nodes’.
-
(Optional) Search for your node by Name
-
Hit the lock in the ‘Sessions’ column
-
Hit ‘Confirm’ to authorize your Node (Engine Manager)
Authorize Node (Engine Manager)
-
-
Your Engine Manager should now be able to connect and finish loading for engine (Default First Engine is ‘standalone’, you can rename it, or create more engines for this Node)
-
You will see in State (above)
-
In the 'EngineManager.log': “Started EngineManagerApplication in X seconds”
2021-12-03 12:49:13,744 INFO  BootstrapConfigService - Bootstrapping config from: C:\Program Files (x86)\Germain Software\GermainAPMEngines - [main]
2021-12-03 12:49:13,760 INFO  BootstrapConfigService - Classpath: bin/apm-engine-manager.jar - [main]
2021-12-03 12:49:13,869 INFO  ConfigurationServiceClient - Connecting to: http://qa.germainux.com - [main]
2021-12-03 12:49:13,869 INFO  EngineManagerConfigService - Getting node configuration for hostname: DESKTOP-87C7TD9 - [main]
2021-12-03 12:49:15,353 INFO  AuthenticationClient - Requesting new session cookie for: DESKTOP-87C7TD9 - [main]
2021-12-03 12:49:15,713 INFO  AuthenticationClient - Writing sessionID to file: C:\Program Files (x86)\Germain Software\GermainAPMEngines\config\session.txt - [main]
2021-12-03 12:49:17,150 WARN  AuthenticationClient - === Authorization test [1] failed. Please check the APM State view to authenticate this node. Retrying in 60 seconds === - [main]
2021-12-03 12:50:17,369 WARN  AuthenticationClient - === Authorization test [2] failed. Please check the APM State view to authenticate this node. Retrying in 60 seconds === - [main]
2021-12-03 12:51:18,416 WARN  AuthenticationClient - === Authorization test [3] failed. Please check the APM State view to authenticate this node. Retrying in 60 seconds === - [main]
2021-12-03 12:52:18,666 WARN  AuthenticationClient - === Authorization test [4] failed. Please check the APM State view to authenticate this node. Retrying in 60 seconds === - [main]
2021-12-03 12:53:18,869 WARN  AuthenticationClient - === Authorization test [5] failed. Please check the APM State view to authenticate this node. Retrying in 60 seconds === - [main]
2021-12-03 12:54:19,104 INFO  AuthenticationClient - Authorization test [6] successful. - [main]
2021-12-03 12:54:19,728 INFO  EngineMetricService  - Initializing engine metric service. - [main]
2021-12-03 12:54:20,010 INFO  AbstractQueueProxyFactory - Mapping queue '_APM_DATA_QUEUE' to 'apm.storage' - [main]
2021-12-03 12:54:20,010 INFO  AbstractQueueProxyFactory - Mapping queue '_APM_DOCUMENT_AUDIT' to 'apm.documentAudit' - [main]
2021-12-03 12:54:20,010 INFO  AbstractQueueProxyFactory - Mapping queue '_APM_ACTION_QUEUE' to 'apm.action' - [main]
2021-12-03 12:54:20,010 INFO  HttpQueueProxyFactory - Initializing HttpQueueProxyFactory. - [main]
2021-12-03 12:54:20,510 INFO  EngineManagerService - Starting engine manager... - [main]
2021-12-03 12:54:20,791 INFO  StateStoreServer     - Creating new hsqldb server: {server.database.0="file:database/hsqldb/state", server.dbname.0="APM_STATESTORE"} - [main]
2021-12-03 12:54:20,806 INFO  StateStoreServer     - Starting hsqldb server instance. - [main]
2021-12-03 12:54:21,353 INFO  ENGINE               - checkpointClose start - [HSQLDB Server @5e63cad]
2021-12-03 12:54:21,353 INFO  ENGINE               - checkpointClose synched - [HSQLDB Server @5e63cad]
2021-12-03 12:54:21,369 INFO  ENGINE               - checkpointClose script done - [HSQLDB Server @5e63cad]
2021-12-03 12:54:21,400 INFO  ENGINE               - checkpointClose end - [HSQLDB Server @5e63cad]
2021-12-03 12:54:21,604 INFO  EngineManagerApplication - Started EngineManagerApplication in 311.715 seconds (JVM running for 313.42) - [main]
2021-12-03 12:54:31,619 INFO  EngineManagerService - Engine Manager heartbeat... - [scheduler-2]
-
Windows Installer Unattended / Silent Install
The windows installer can have all fields set from the command line using a FIELD=”Value” pattern.
Example:
msiexec.exe /QN /I "C:\Users\User\Downloads\GermainAPMEngines.msi" INSTALLFOLDER="C:\germain\engines\" APM_SERVICEURL="https://youtserver.cloud.germainux.com" PROX="http" APM_HTTPPROXY="http://yourhttpproxy.yourdomain.com:8080"
|
Argument |
Description |
|---|---|
|
/QN |
(Required): Sets ‘msiexec.exe’ to do a silent install. If all necessary fields are set correctly this will install the engine. If not, it will fail silently. |
|
/I “[PATH_TO_MSI]“ |
(Required): For setting which |
|
|
(Optional): You can set the path of where you would like to install the Germain Engine. Default is ‘C:\Program Files (x86)\Germain Software\’. |
|
|
(Required): The URL of your Germain server. |
|
|
(Optional): If you have a proxy, you set the type of proxy here. Options are ‘http' and ‘https’, value must be in lower case. Default is ‘none’. |
|
|
(Optional): If you have a proxy, you set the URL of the proxy here. |
The order of the FIELD=”Value” arguments is not important. You can rearrange them as long as they, as a group, are at the end of the command.
Windows Binary
-
Download the “Windows Binary”
Germain Workspace > Left Menu > Wizards > Engine
Engine Wizard - Germain UX -
Download Engine - Germain UX Unzip this archive and take the
enginesfolder inside and place it where you like. You may rename it to fit your naming conventions.-
This engines folder will be your
$ENGINE_HOME. You may optionally add this to your system environment variables.
-
-
Edit
$ENGINE_HOME\bin\GermainEngineStandalone.xmland set the JVM memory settings-
XML contexts:
XML<service> <id>GermainEngineStandalone</id> <name>Germain Engine Standlone</name> <description>This runs a Germain Engine.</description> <env name="APM_HOME" value="%BASE%\.."/> <logpath>%BASE%\..\logs</logpath> <logmode>roll</logmode> <workingdirectory>%BASE%\..</workingdirectory> <executable>java</executable> <argument>-Xms256m</argument> <argument>-Xmx1024m</argument> <argument>-XX:-CreateMinidumpOnCrash</argument> <argument>-XX:+CrashOnOutOfMemoryError</argument> <argument>-Dgermain.engine=standalone</argument> <argument>-jar</argument> <argument>bin/apm-engine-spring.jar</argument> </service>
-
-
Open and Administrator Command Prompt
-
Navigate to the
$ENGINE_HOME\bin\WinSWdirectory -
Run the appropriate
.batfile for your hosts systems .NET version(set-dotnet-2.bat,set-dotnet-4.bat, orset-dotnet-461.bat) -
Go up one directory
cd .. -
Run the command
GermainEngineStandalone.exe install:-
Screenshot of Service Install:

GermainEngineStandalone.exe - Germain UX
-
-
Check the service list to validate that the service was created:
-
Screenshot of service in ‘Windows Services’:
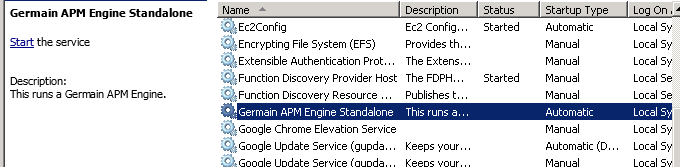
Check Services - Germain UX
-
Linux Distributions using System V
To install the Germain engines as a service, create a symlink to the following executable:
$ sudo ln -s $ENGINE_HOME/apm-engine-spring.jar /etc/init.d/germain-engine
To control the new service, the following commands can be used:
  $ sudo service germain-engine start
  $ sudo service germain-engine stop
  $ sudo service germain-engine restart
Linux Distributions using systemd
To install the Germain engines as a service, adjust the provided service file (germain-engine.service) to match the location of the $ENGINE_HOME directory on your system:
  [Unit]
  Description=germain-engine
  After=network-online.target
  Wants=network-online.target

  [Service]
  User=root
  ExecStart=/opt/germainapm/apm-engine-spring.jar
  SuccessExitStatus=143

  [Install]
  WantedBy=multi-user.target
Then, copy the file into your service directory:
$ cp $ENGINE_HOME/bin/germain-engine.service /etc/systemd/system/
To control the new service, the following commands can be used:
$ sudo service germain-engine start
$ sudo service germain-engine stop
$sudo service germain-engine restart
To automatically start the server on restart, run the following command:
$ systemctl enable germain-engine.service
Component: Engine
Feature Availability: 8.6.0 or later